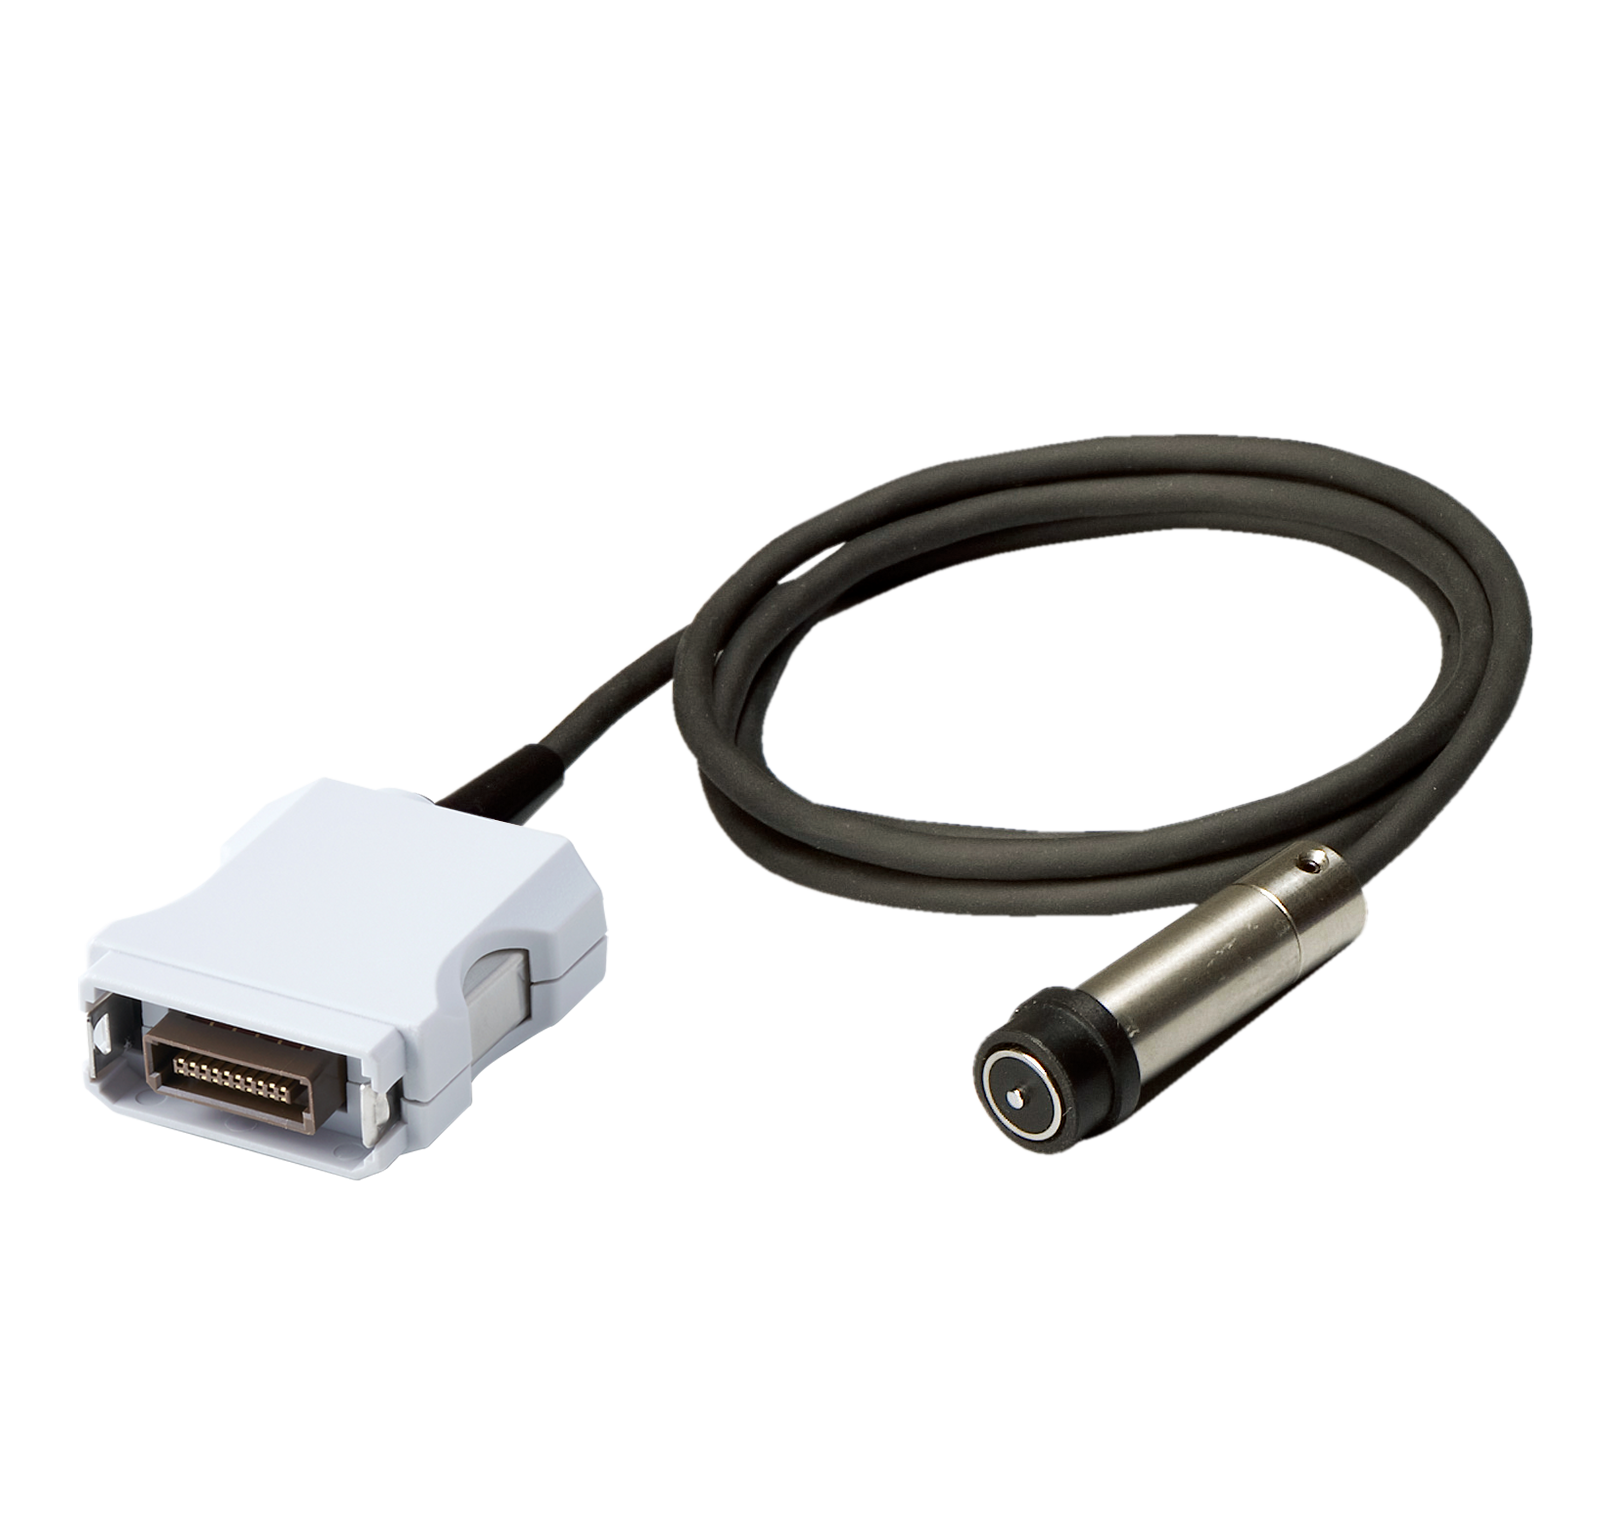
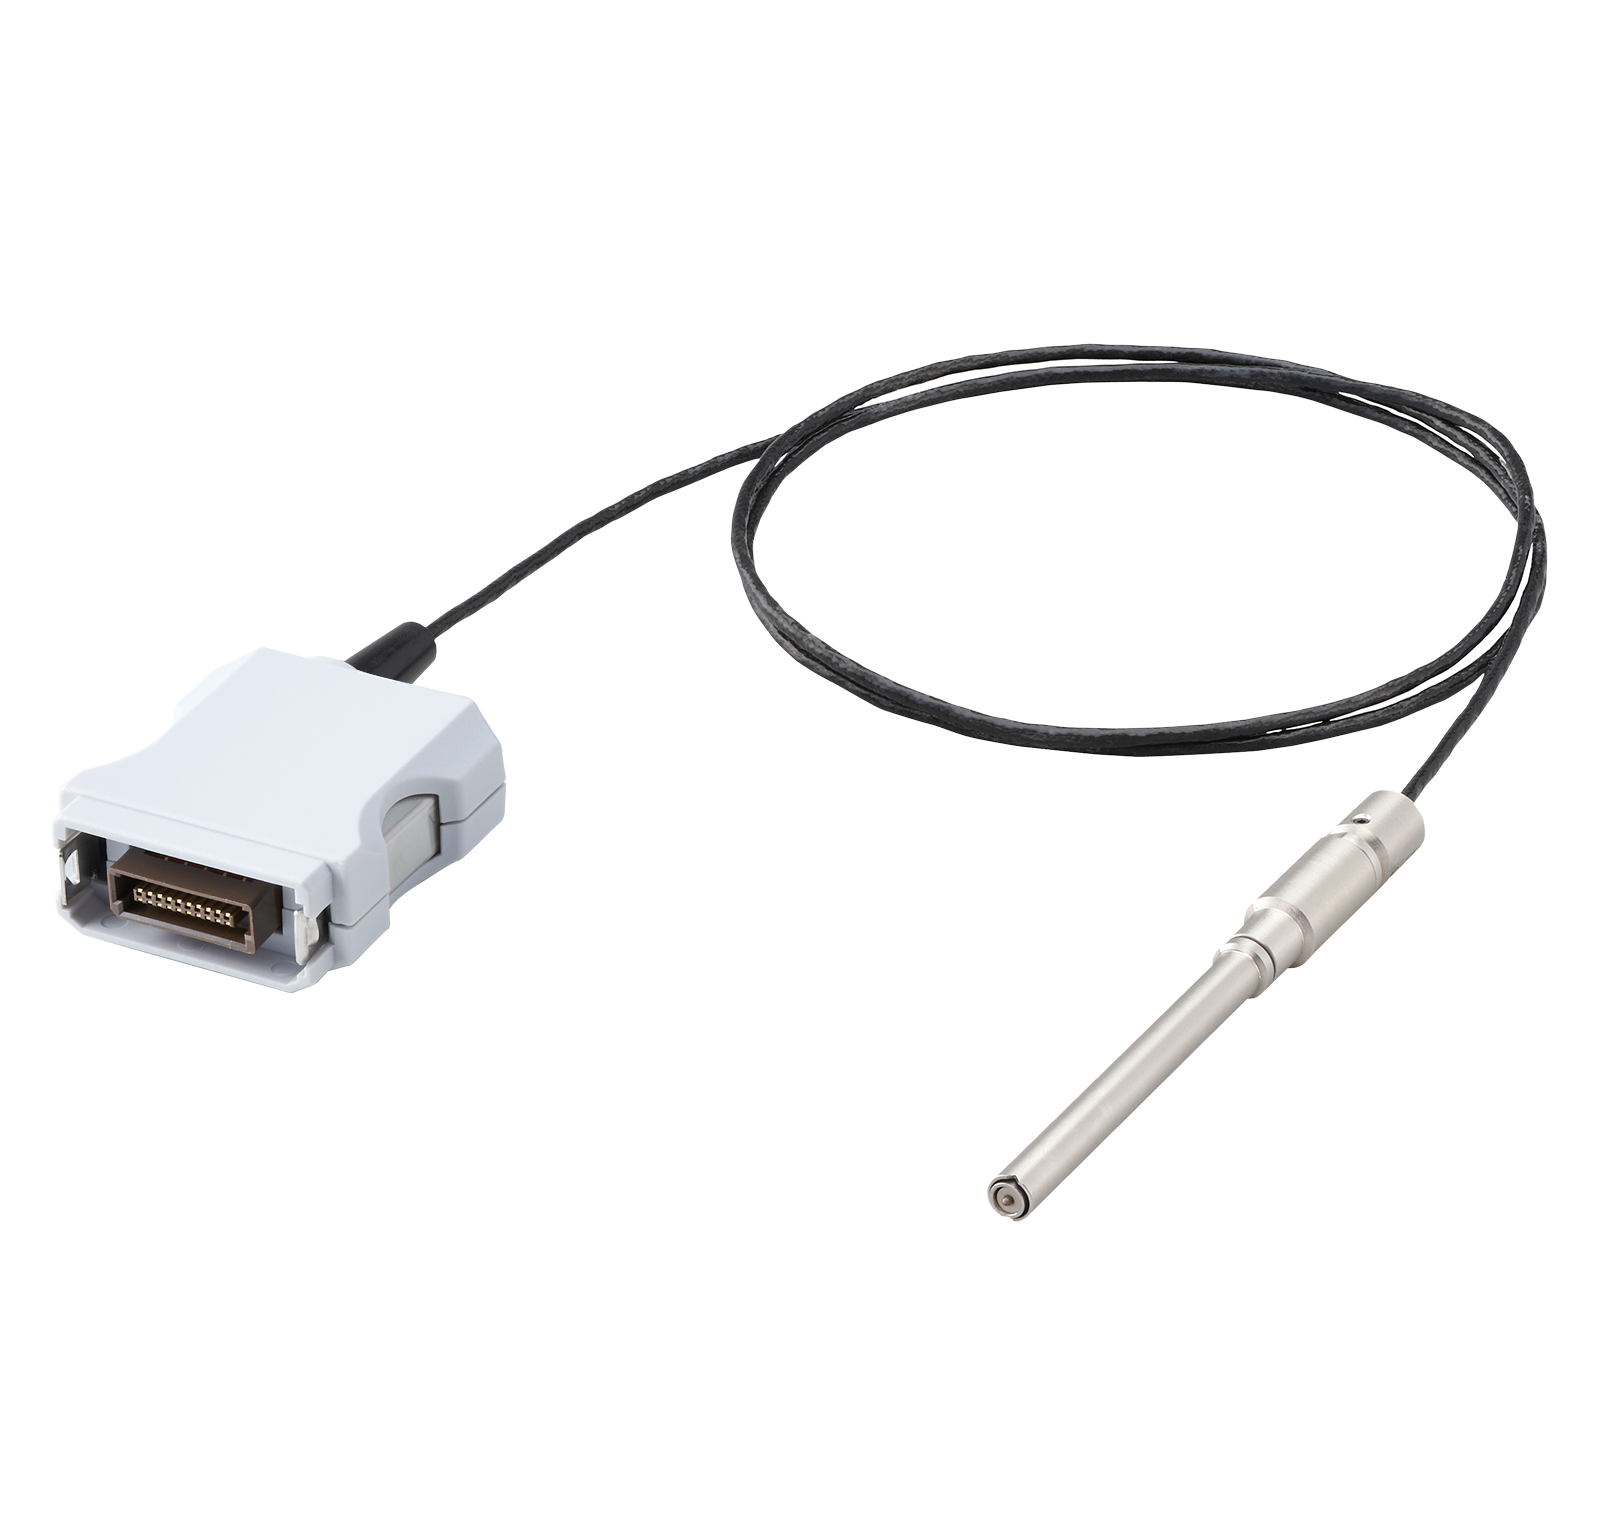
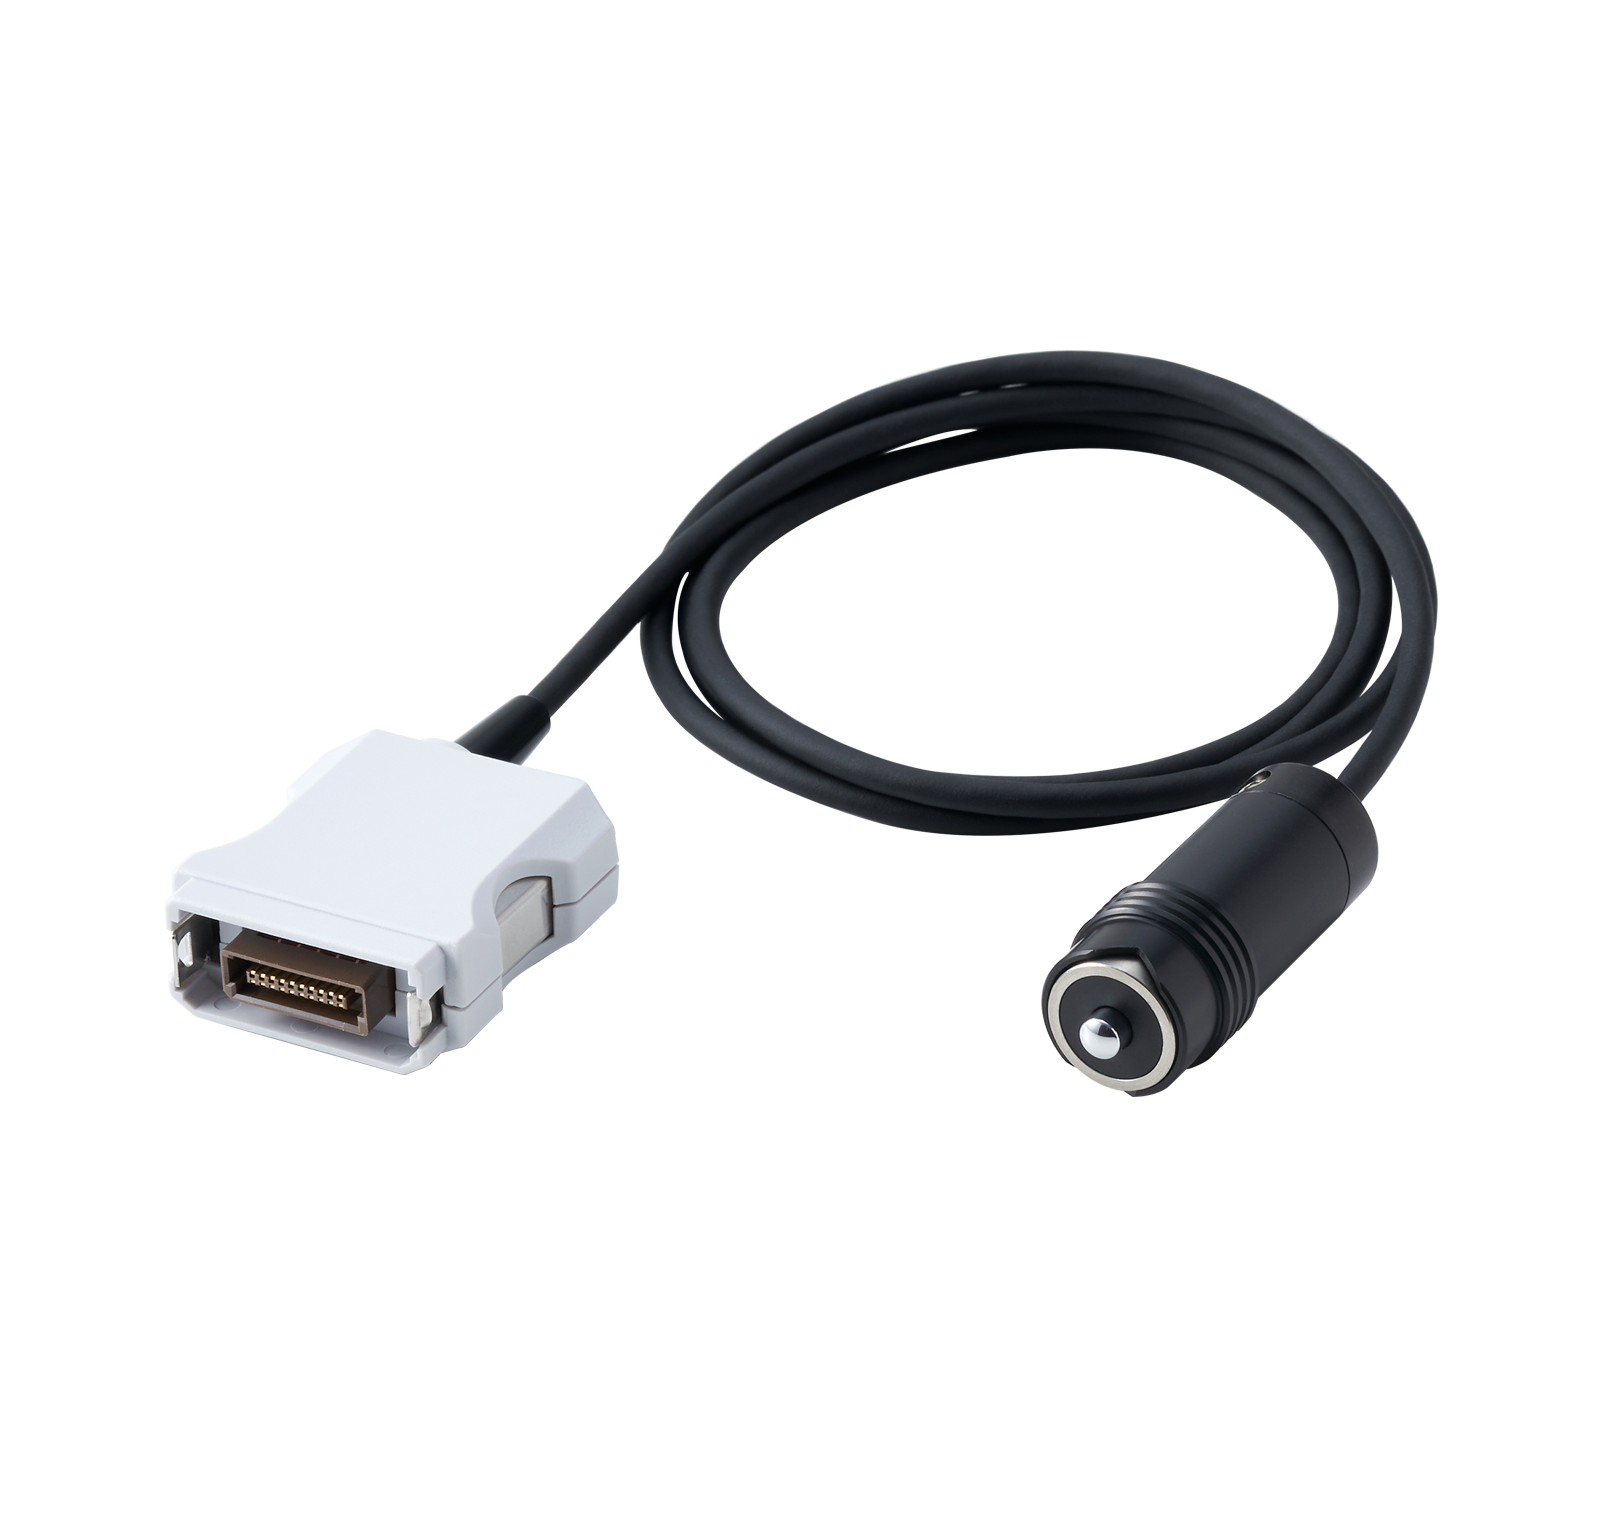
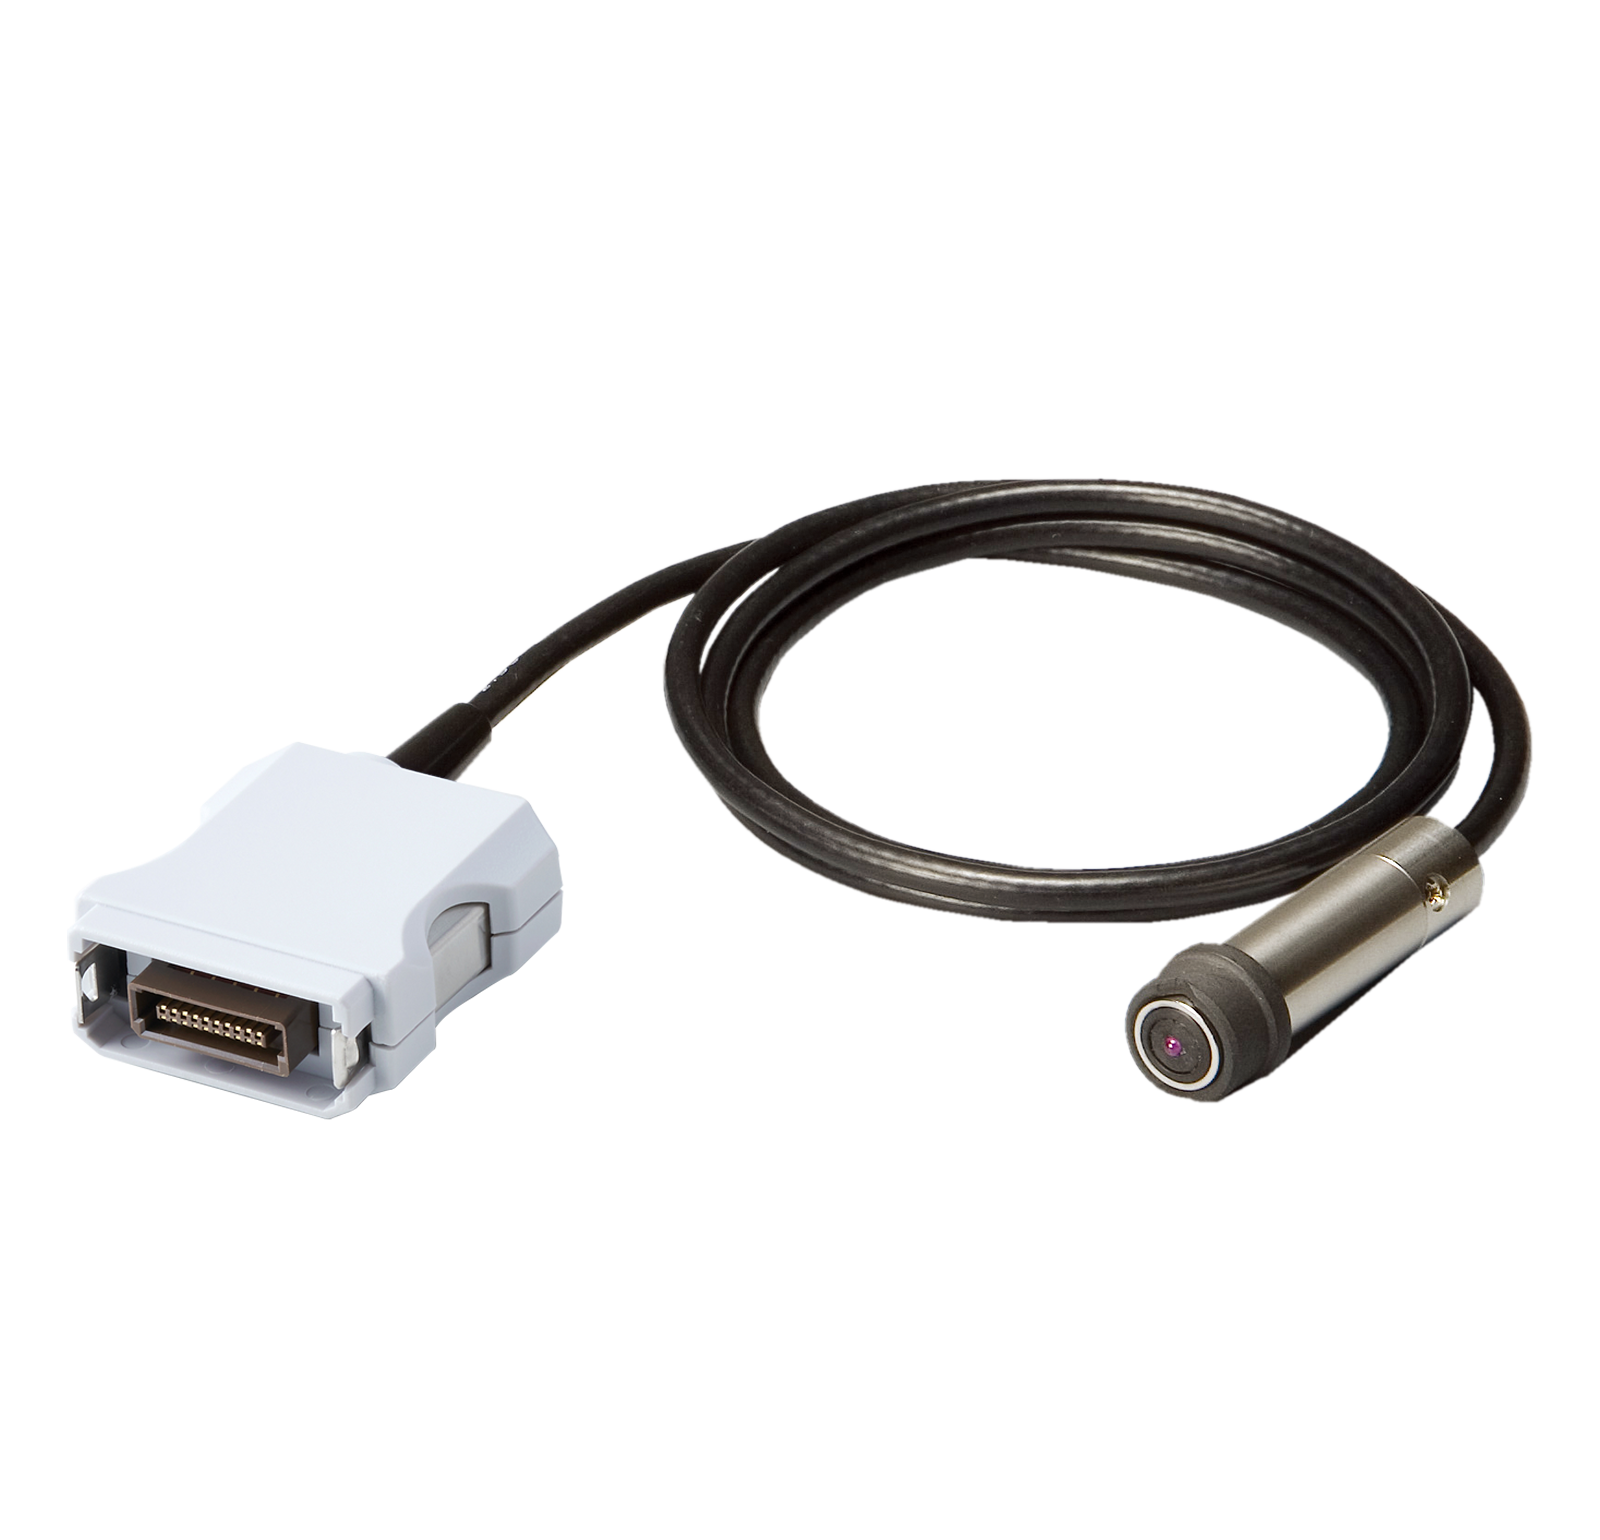
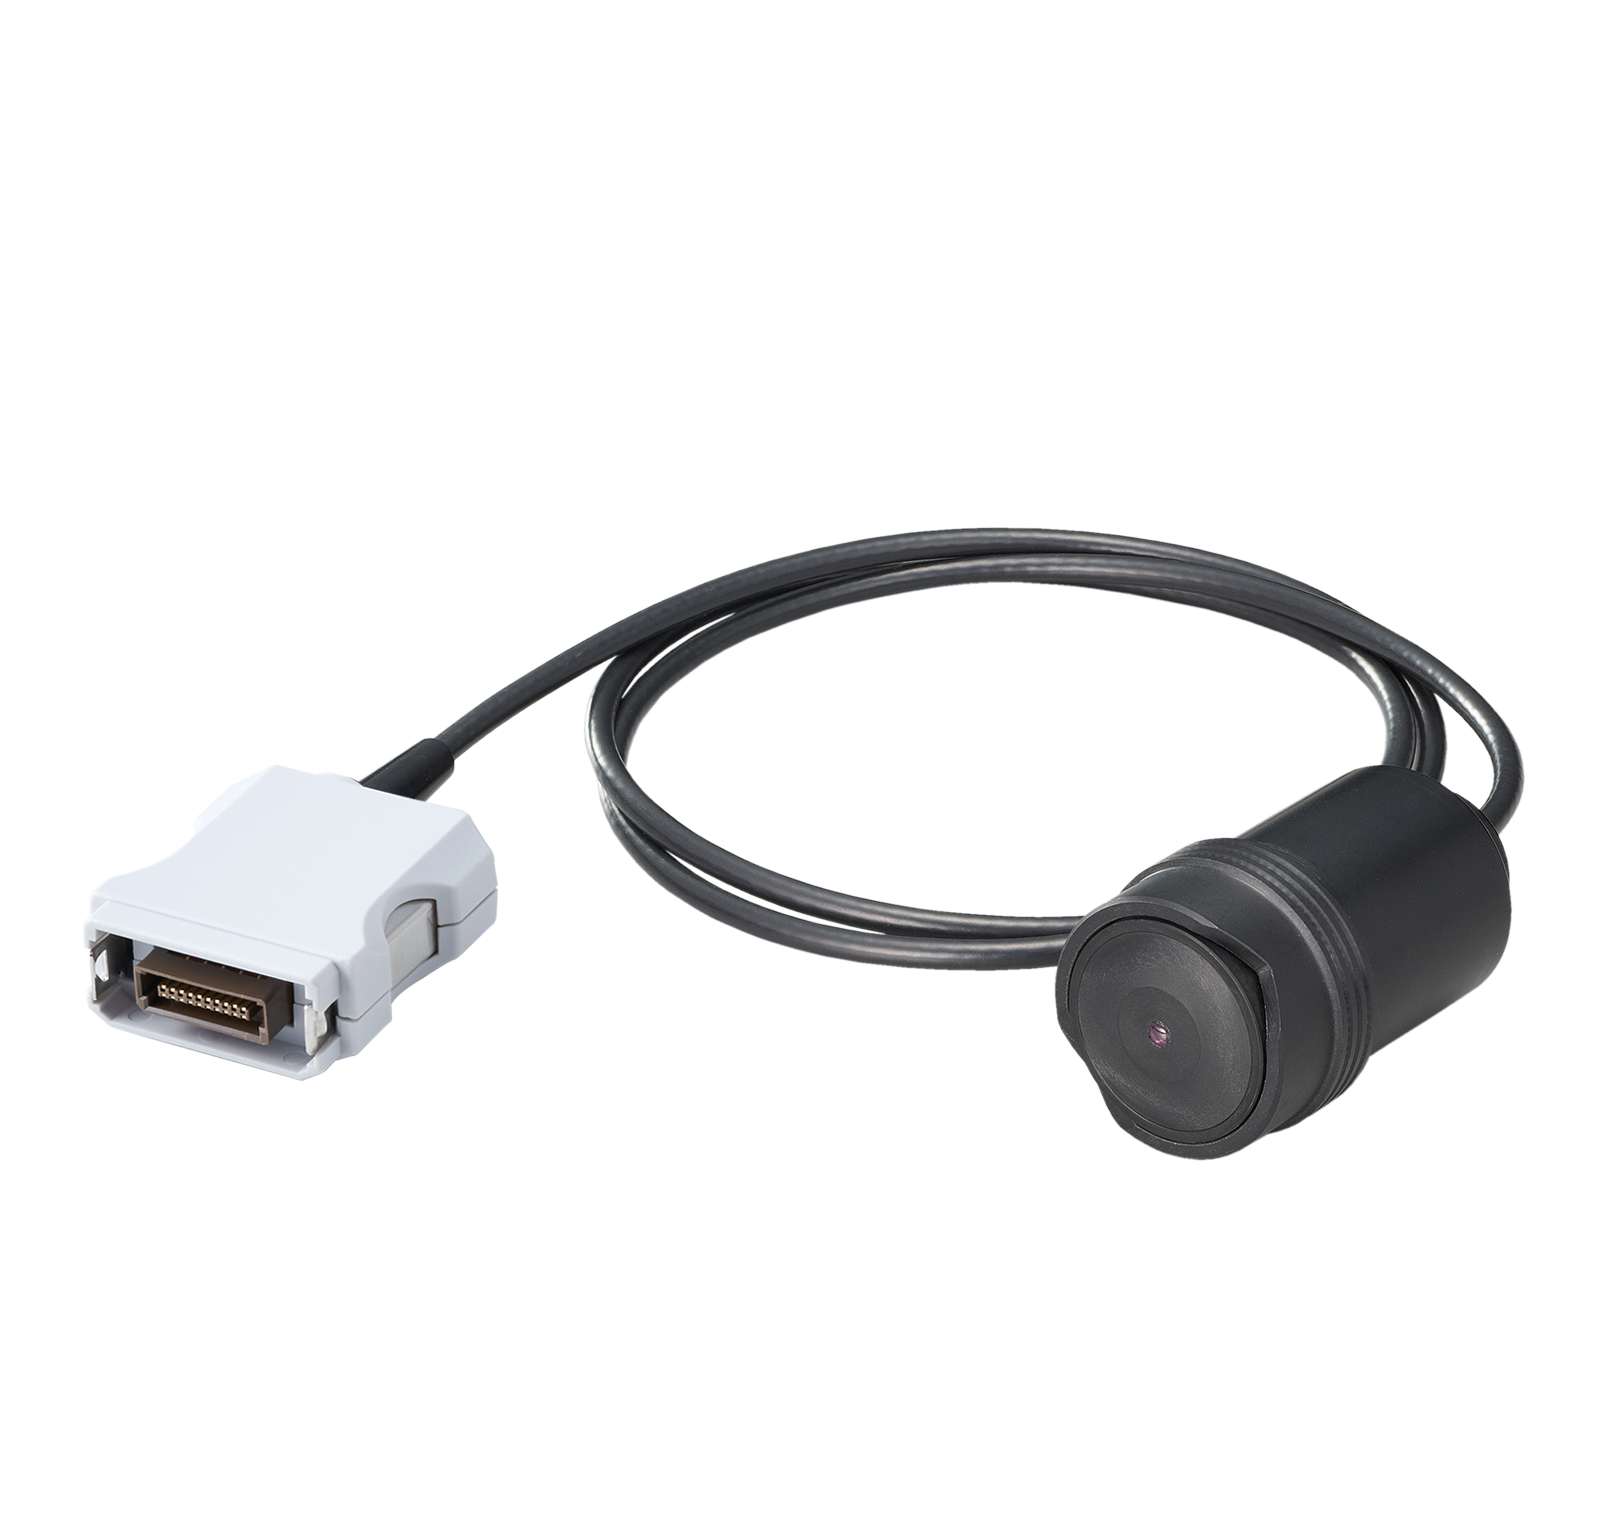
SPECIAL FEATURES
- Separate-interchangeable probes available with a main unit.
- Selections of probe for ferrous (electro-magnetic) or non-ferrous ( eddy current) substrate de- pending on a measuring object.
- Capability of selections probe like high-stable probe to measure minute piece objects or alike depending on applications and a measurement range.
SPECIFICATIONS of SWT (Fe probes)
Models
SFe-2.5※1/2.5L
SFe-0.6Pen
Methods
Magnetic inducing type
Ranges
0~2.50mm
0~600μm
Display resolutions
1μm:0~999μm switching to 0.1μm:0~400μm 0.5μm:400~500μm 0.01mm:1.00~2.50mm
1μm:0~600μm switching to 0.1μm:0~400μm 0.5μm:400~500μm
Accuracies (perpendicularly testing on flat face)
0~100μm:±1μm or ±2% the reading value
101μm~2.50mm:±2%
101μm~2.50mm:±2%
0~100μm:±1μm or ±2% the reading value 101μm~600μm:
±2% the reading value
±2% the reading value
Probes
One point contact constant pressure type,
V cut 2.5:φ15×47mm 2.5L:18x23x67mm
V cut 2.5:φ15×47mm 2.5L:18x23x67mm
One point contact constant pressure type, V cut φ5.6 x 92.2mm
V type probe adaptors※2 /Non
Non
Accessories
Standard thickness, Zero plate for testing (Fe)
Measuring objects
Coating,lining,thermalspray films, plating (except electrolyte nicke plating) etc. on magnetic metal substrate like iron, steel.
Coating, lining, plating on a narrow/small place and part substrate like iron, steel.
- ※1.Probes are heat-resistant (about 200°C). (SFe-2.5)
- ※2.V type probe adaptors (3 kinds: lessΦ5, Φ5~10, Φ10~20) can be used with SFe-2.5.
Models
SFe -10
SFe -20
Methods
Magnetic inducing type
Ranges
0~10mm
0~20mm
Display resolutions
1μm:0~999μm
0.01mm:1~10mm
0.01mm:1~10mm
1μm:0~999μm
0.01mm:1~5mm
0.1mm:5~20mm
0.01mm:1~5mm
0.1mm:5~20mm
Accuracies (perpendicularly testing on flat face)
0~3mm:±(5μm + 3% the read value)
Over or 3.01mm:±3% the read value
Over or 3.01mm:±3% the read value
Probes
One point contact constant pressure type, V cut φ20.4x47.1mm
One point contact constant pressure type, V cut φ35x55mm
Accessories
Standard thickness,Zero plate for testing (Fe)
Measuring objects
Relatively thicker objects
Thick objects
Probe must be ordered separately.
SPECIFICATIONS of SWT (NFe probes)
Models
SNFe-2.0/2.0L
Methods
Eddy current type
Ranges
0~2.00mm
Display resolutions
1μm:0~999μm
switching to
0.1μm:0~400μm 0.5μm:400~500μm
0.01mm:1.00~2.00mm
switching to
0.1μm:0~400μm 0.5μm:400~500μm
0.01mm:1.00~2.00mm
Accuracies (perpendicularly testing on flat face)
0~100μm:±1μm
or ±2% the read value
101μm~2.00mm:±2%
or ±2% the read value
101μm~2.00mm:±2%
Probes
One point contact constant pressure type, V cut
2.0:φ15 x 47mm 2.0L:18 x 22 x 67mm
2.0:φ15 x 47mm 2.0L:18 x 22 x 67mm
V type probe adaptor※/Non
Accessories
Standard thickness, Zero plate for testing (NFe)
Measuring objects
Insulated films on non-Magnetic metal substrates like aluminum, cupper
Relatively general use objects
Probe must be ordered separately.
- ※V type probe adaptors (3 kinds:lessΦ5, Φ5~10, Φ10~20) can be used with SNFe-2.0.
Models
SNFe-0.6
SNFe-8
Methods
Eddy current type
Ranges
0~600μm
0~8mm
Display resolutions
1μm:0~600μm
switching to
0.1μm:0~400μm
0.5μm:400~500μm
switching to
0.1μm:0~400μm
0.5μm:400~500μm
1μm:0~999μm
0.01mm:1~8mm
0.01mm:1~8mm
Accuracies (perpendicularly testing on flat face)
0~100μm:±1μm
or ±2% the read value
101μm~600μm:±2%
or ±2% the read value
101μm~600μm:±2%
0~3mm:±(5μm + ±3%the read value)
Over or 3.01mm:±3%the read value
Over or 3.01mm:±3%the read value
Probes
One point contact constant pressure type, V cut Φ13×45.5mm
One point contact constant pressure type, V cut φ35×59mm
Non
Accessories
Standard thickness, Zero plate for testing (NFe)
Measuring objects
Insulated films on non-Magnetic metal substrates like aluminum, cupper
like aluminum, cupper for high stability for narrow bar, tube, minute pieces
Relatively thick objects

